Getting Started with Workflow
This document covers how to create and use a workflow, which is a series of tasks in a business process
Contents
Background
Setup your workflow types
Create your first workflow
Design your workflow
Deploy your workflow
Start the workflow
Design a workflow template
Save an Existing Workflow as Template
Workflow Operations
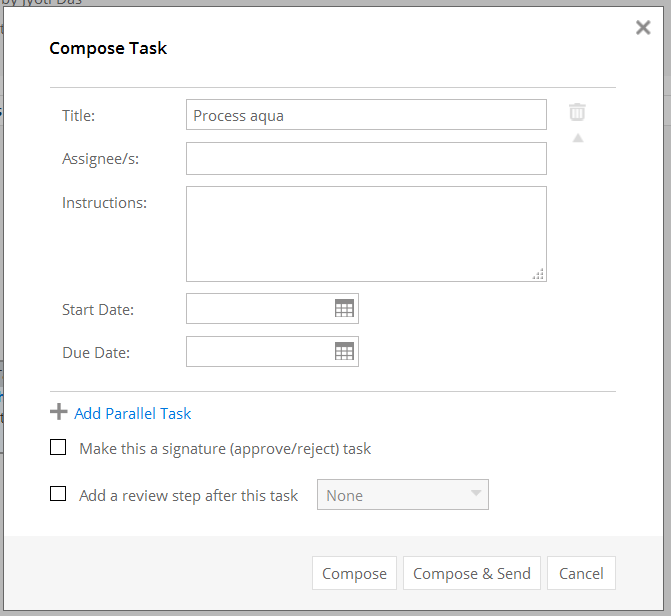
Compose Tasks
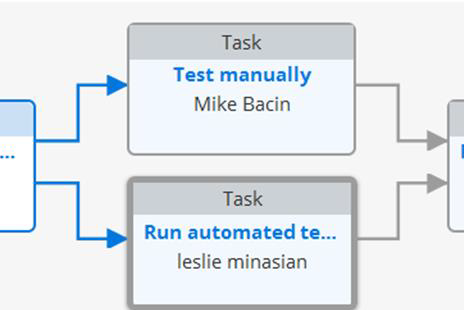
Parallel Tasks
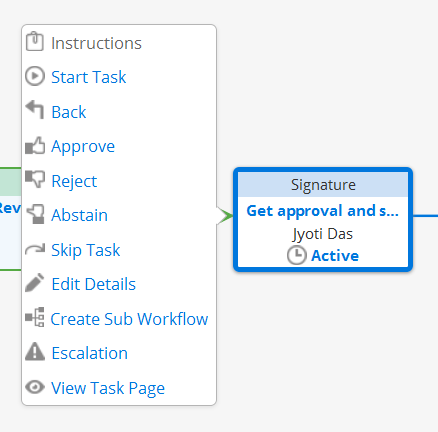
Signature (approve/reject) task
Review Step
Start Task
Back (Repeat Task)
Skip Task
Edit Details
Escalation
Background
Workflow means different things to different people. In very simple terms, it is a business process which helps to achieve a single business transaction. There are many types or ways to achieve or automate a business process and perform a business transaction. Kenesto provides an ad-hoc and flexible workflow for automating a task-based process. Think of workflow as a series of tasks that must be performed by one or more people to achieve a business transaction, Kenesto provides the perfect solution for that.
As you will notice in the workflow module and throughout the Kenesto product, workflows can be shared, owners can be changed and discussions can be held around workflows. You will also notice when in the design of workflow familiar menu items will show you what documents have been attached to the workflow and more.
Note for Administrators: access to turn “on” or “off” the workflow module for your company instance is in your admin panel.
Setup your workflow types
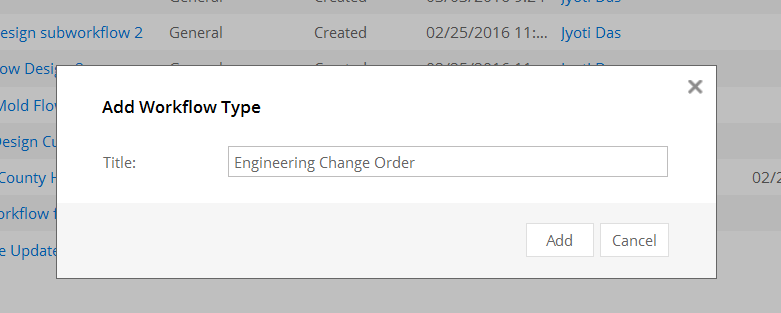
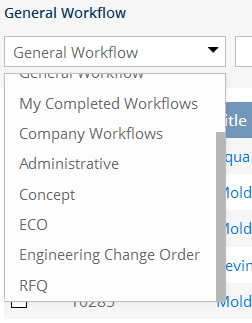
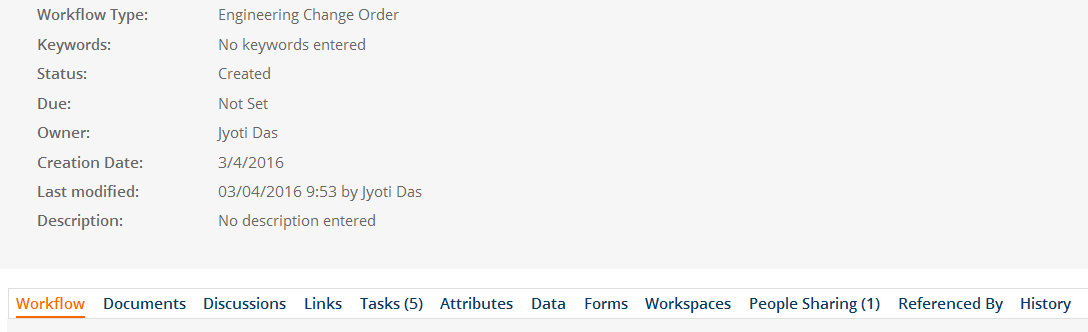
You can categorize different workflow processes for better organization. The default category or type is “General Workflow.” You can create types such as “Engineering Change Orders”, “Invoice approval”, “Design Quotes”, etc. as to describe your business process.
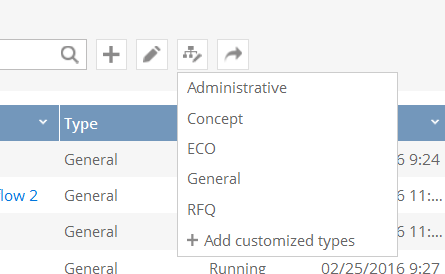
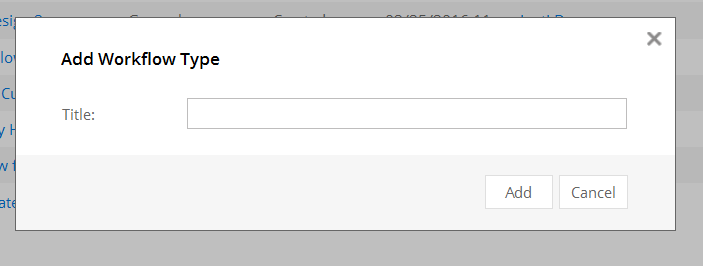
To add a new type, open the “Workflow” tab. Click the “Manage Type” button and click on “Add customized types” or click the ‘+ ‘button
Create your first workflow

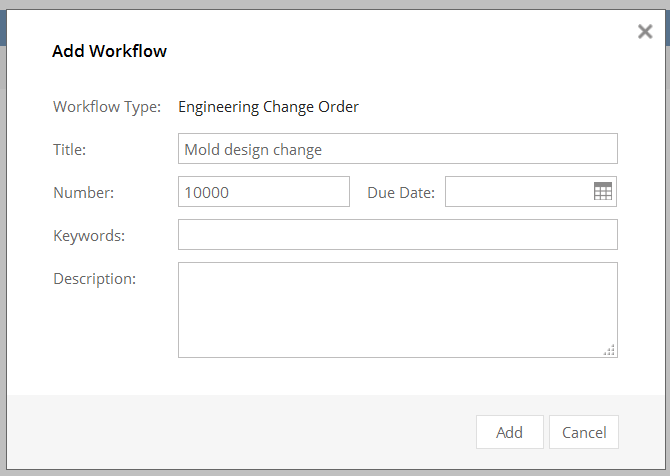
Design your workflow
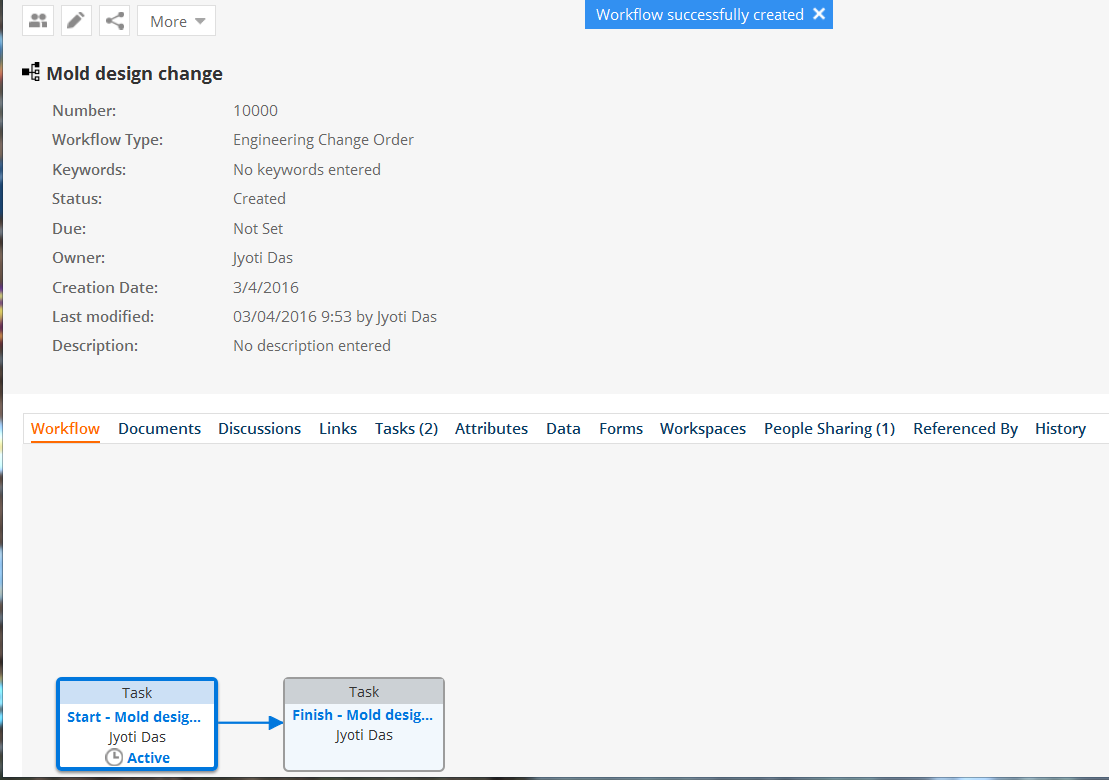
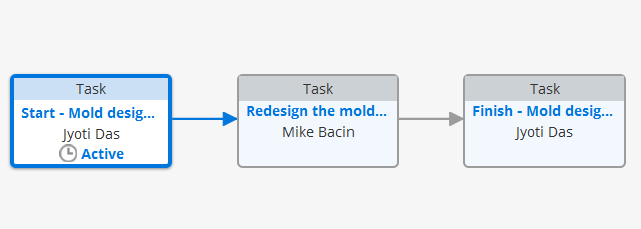
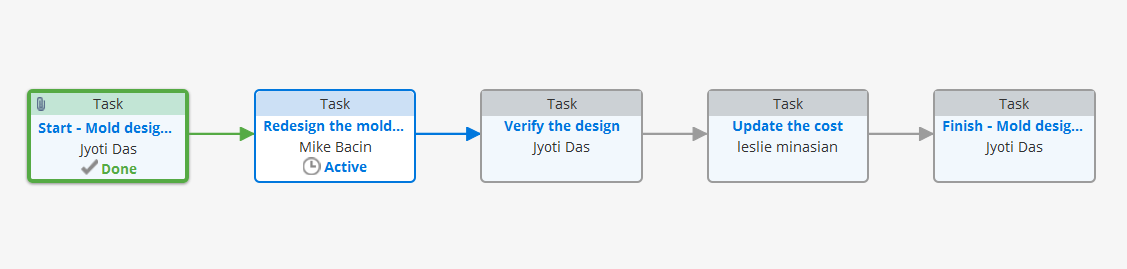
Let us add three more steps to your workflow. In this example: we are routing a document to a designer. Once the designer completes the task and approves it goes back to engineering for completion.
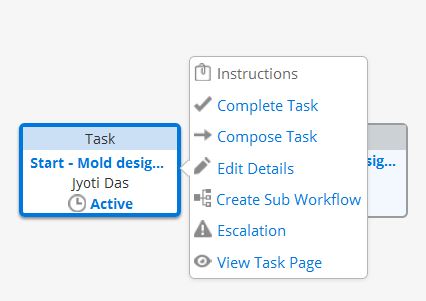
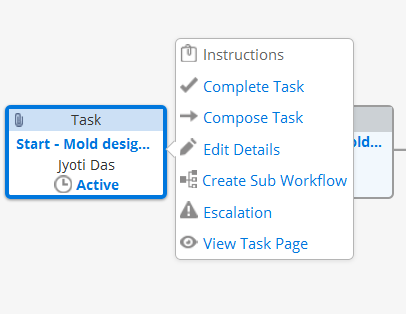
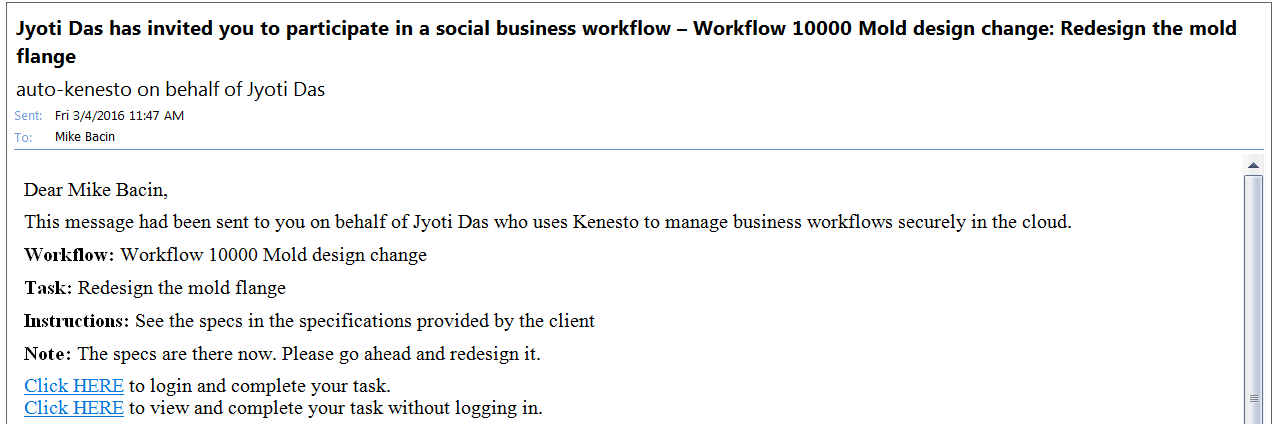
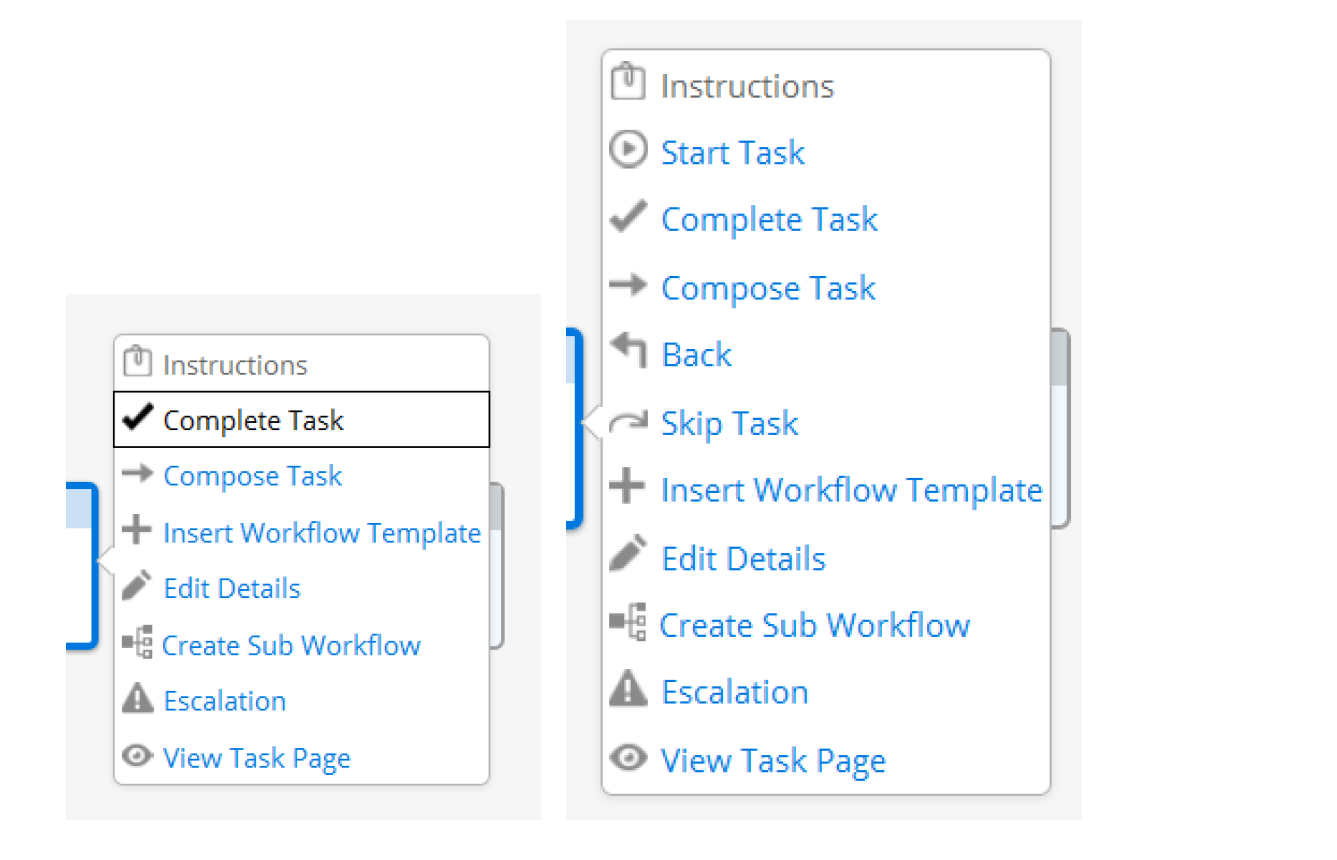
Add a task/ step for the designer. Click on the “Start” task. You will see the following menu popup:

Deploy your workflow
Start the workflow
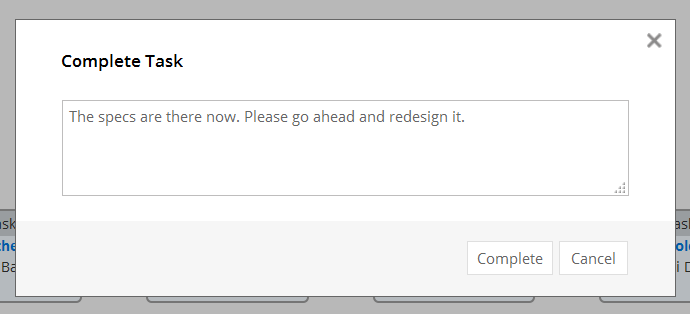
Please note that first task is active. Now, we need to work on the first task according to the instructions and complete it. This must be completed before the next task becomes active.
Completing the first task: If you mouse over the instructions, it says,
“Upload the new specifications for the mold”
Let us upload the specs using the “Documents” tab next to the “Workflow”.
Click on “Documents” and click “Upload Document.”
The document is now under the workflow.


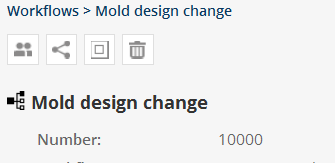
Click on the workflow to open the workflow. You will be able to access the documents, etc. from the workflow as earlier.
This concludes how to use a simple workflow from start to finish.
Creating Workflow Templates
Templates help you reuse your workflow processes so that you do not need to redesign the same processes again. There are two ways to design a template.
1. You can design a template just like a new workflow and use it to save as a template.
2. You can start with any existing workflow and make it a template.
Note: documents can be attached and saved to workflow templates.
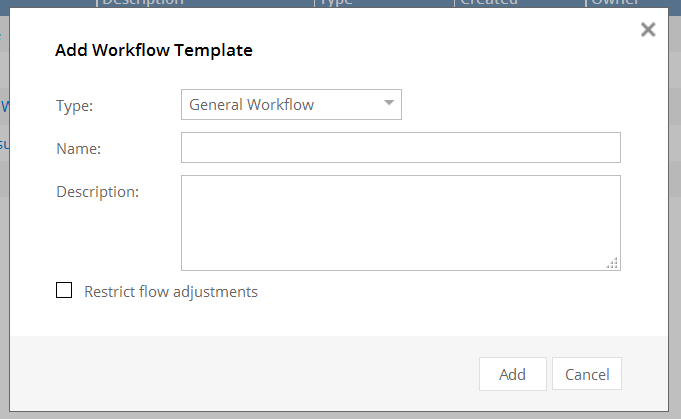
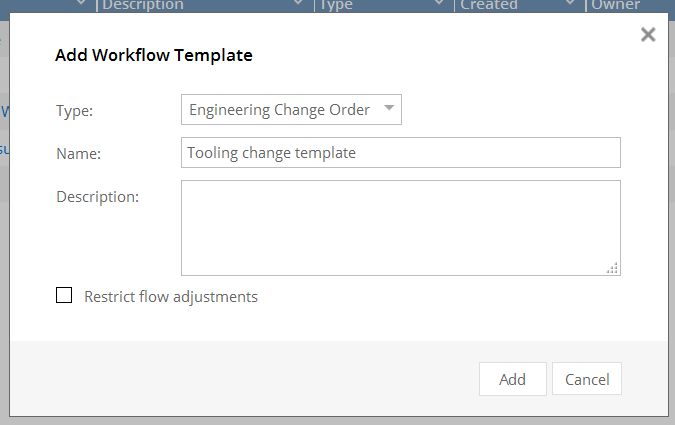
Design a workflow template
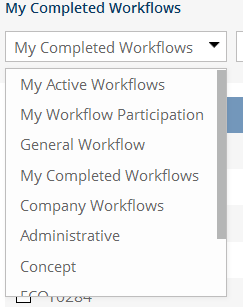
Click the “Templates” tab and select “Workflow templates” from the select box as follows:

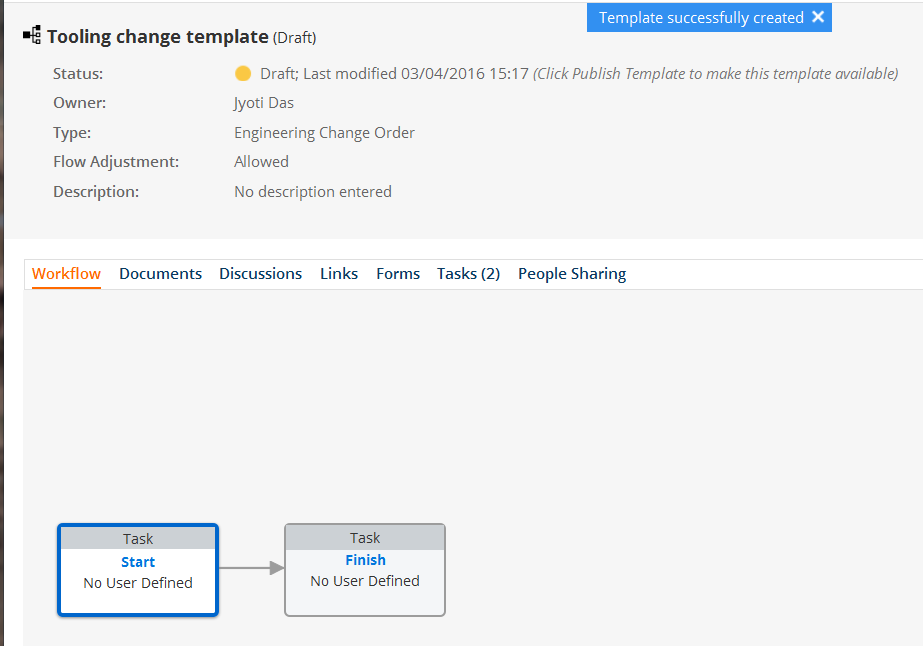
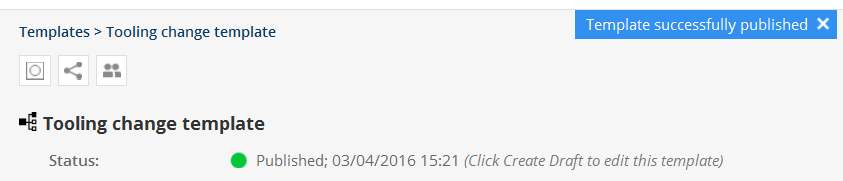
You can design a workflow just like before. When done, you can publish the template by clicking on the button,![]() , the second button from the left.
, the second button from the left.

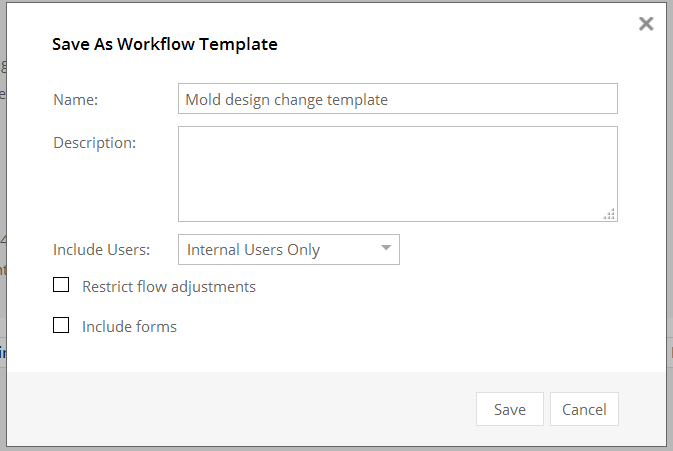
Save an Existing Workflow as Template
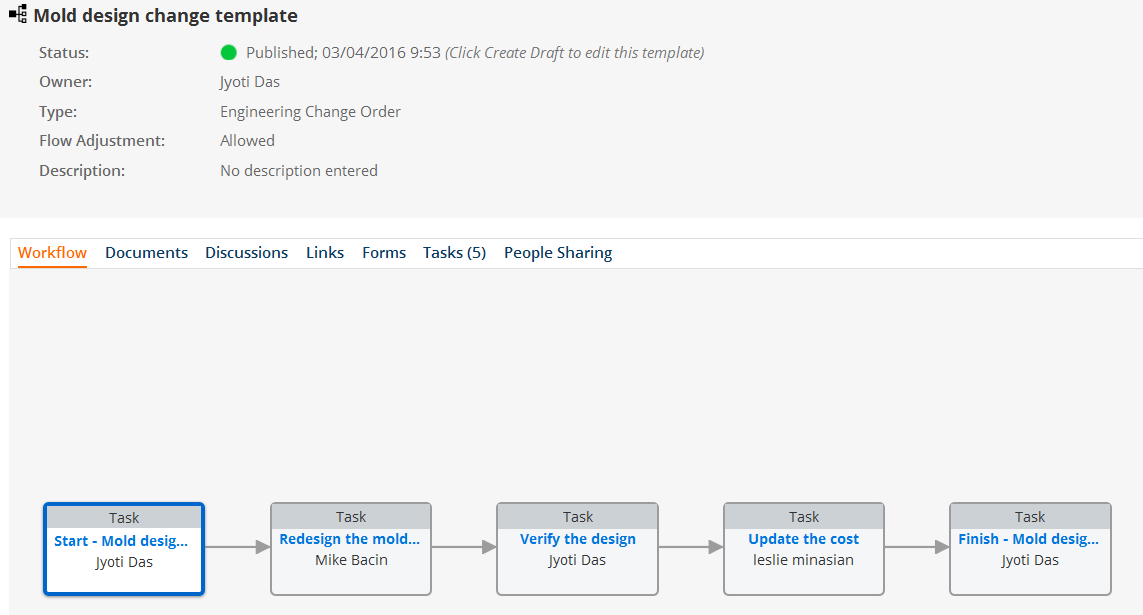
Now go to the “Templates” tab and open the “Workflow templates” from the select box. Your new template is listed.
Workflow Operations
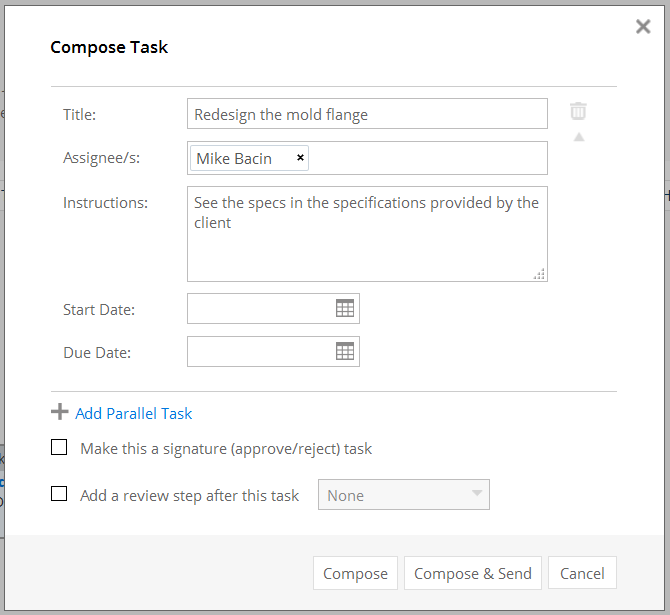
Compose Tasks
Parallel Tasks
Signature (approve/reject) task
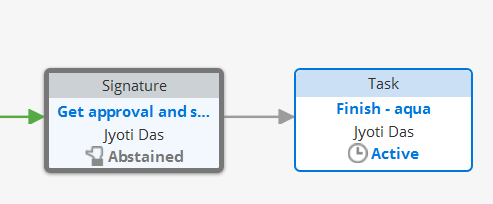
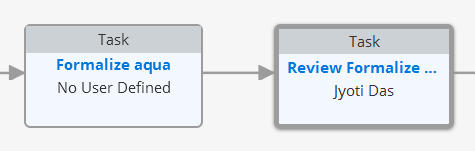
Review Step

Start Task
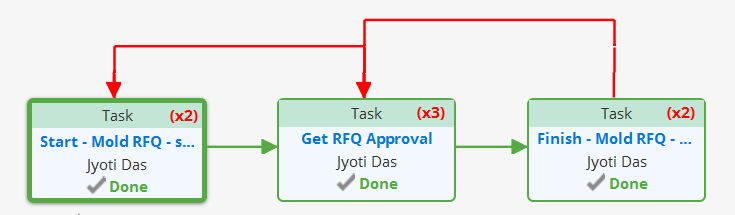
Back (Repeat Task)
Click on the “Back” to go back to the previous task and do it again. The numbers in parenthesis represent how many times the task has been repeated.
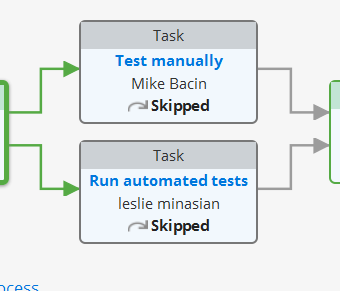
Skip Task
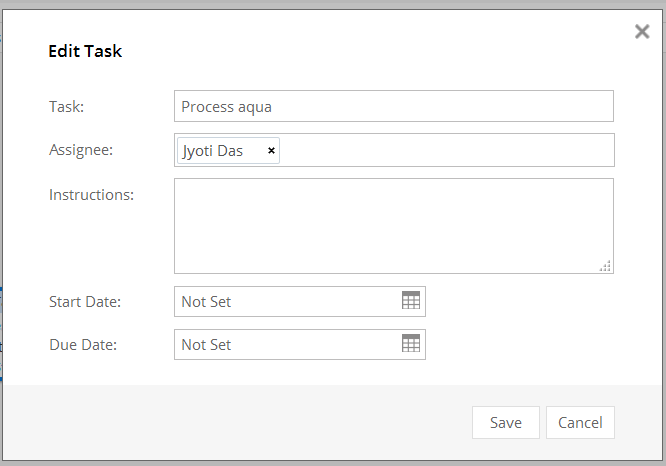
Edit Details
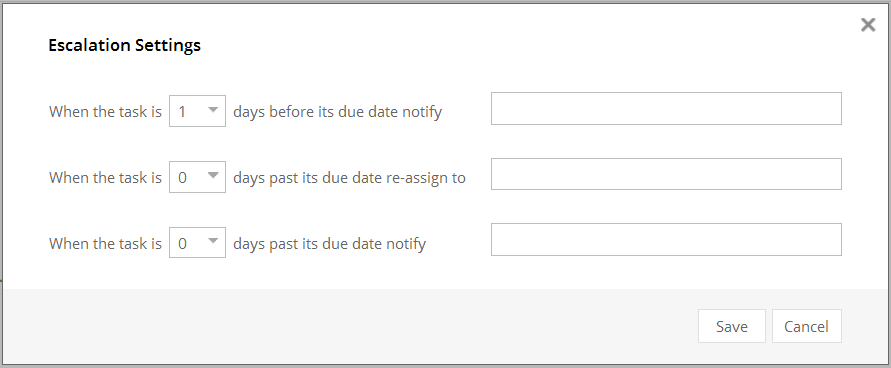
Escalation
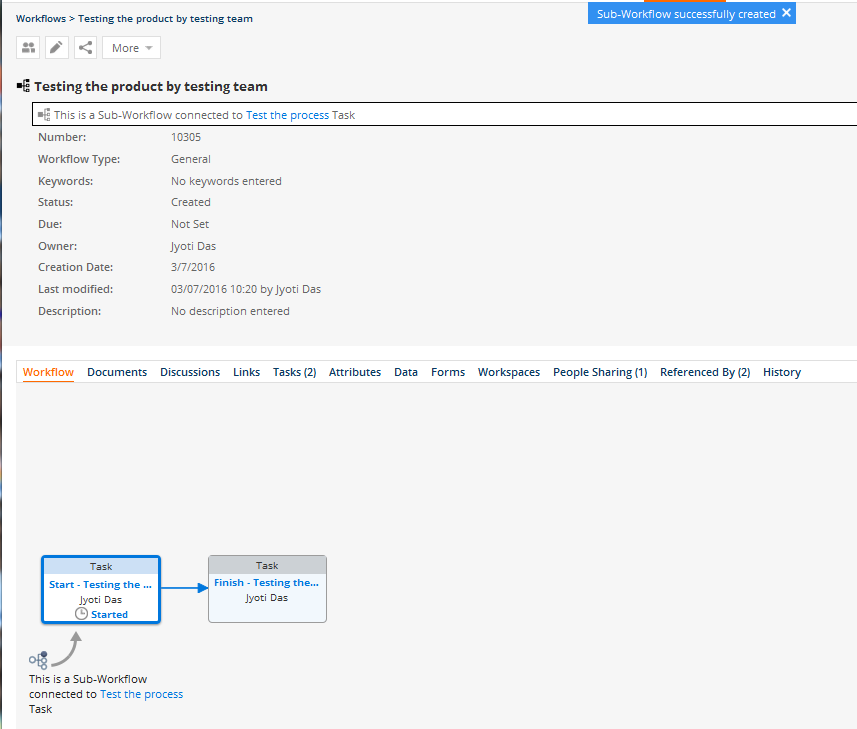
Sub-Workflow
You can add a sub-workflow to a task if you are assigned to the task or you are the owner of the process. Sub-workflow as the name implies can be a series of steps or tasks that must be completed before the original task is completed. It also helps grouping or branching tasks and designing a simpler process. It helps to hide complexity and gain better control of the whole process.
Let us take a look at the process now.

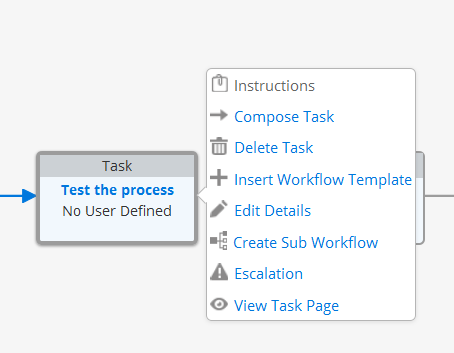
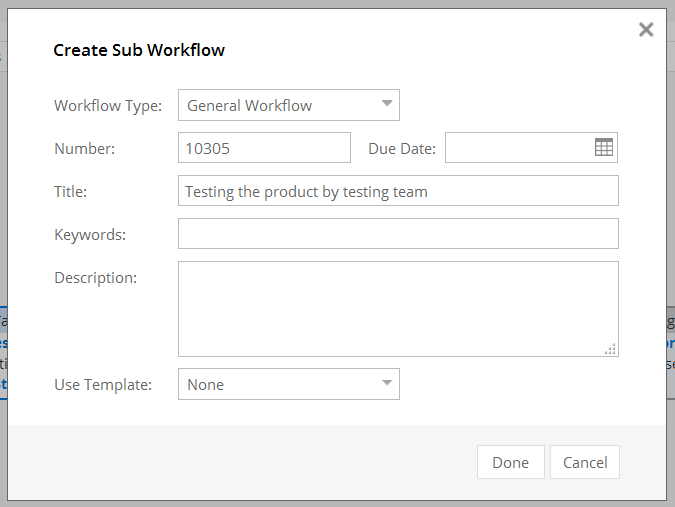
From the menu, click “Create Sub Workflow”. You will see the “Create Sub Workflow” dialog. You can choose your workflow type and title just as you would for a regular workflow.
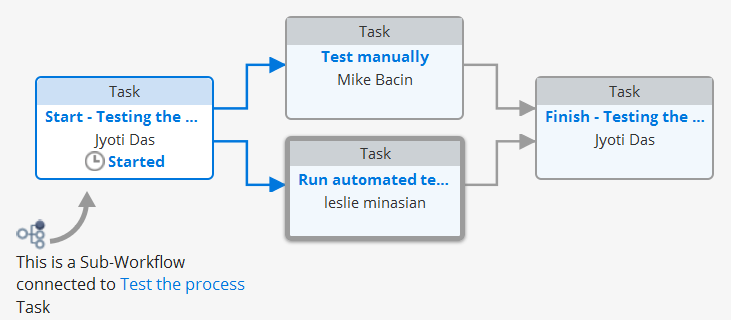

When the process moves to the step, “Test the process”, the step with sub-workflow, the sub-workflow must be completed before it can move to the next step, “Review Test the process”.